Best way to remove case coloring on a lock plate? | Ask the Experts
Fringed Edge Binding | Leatherworking with Jeff Luke
Recipes for DIY Muzzleloader Lubricant for Cap and Ball revolvers | Ask the Experts
Does black powder corrode stainless steel?
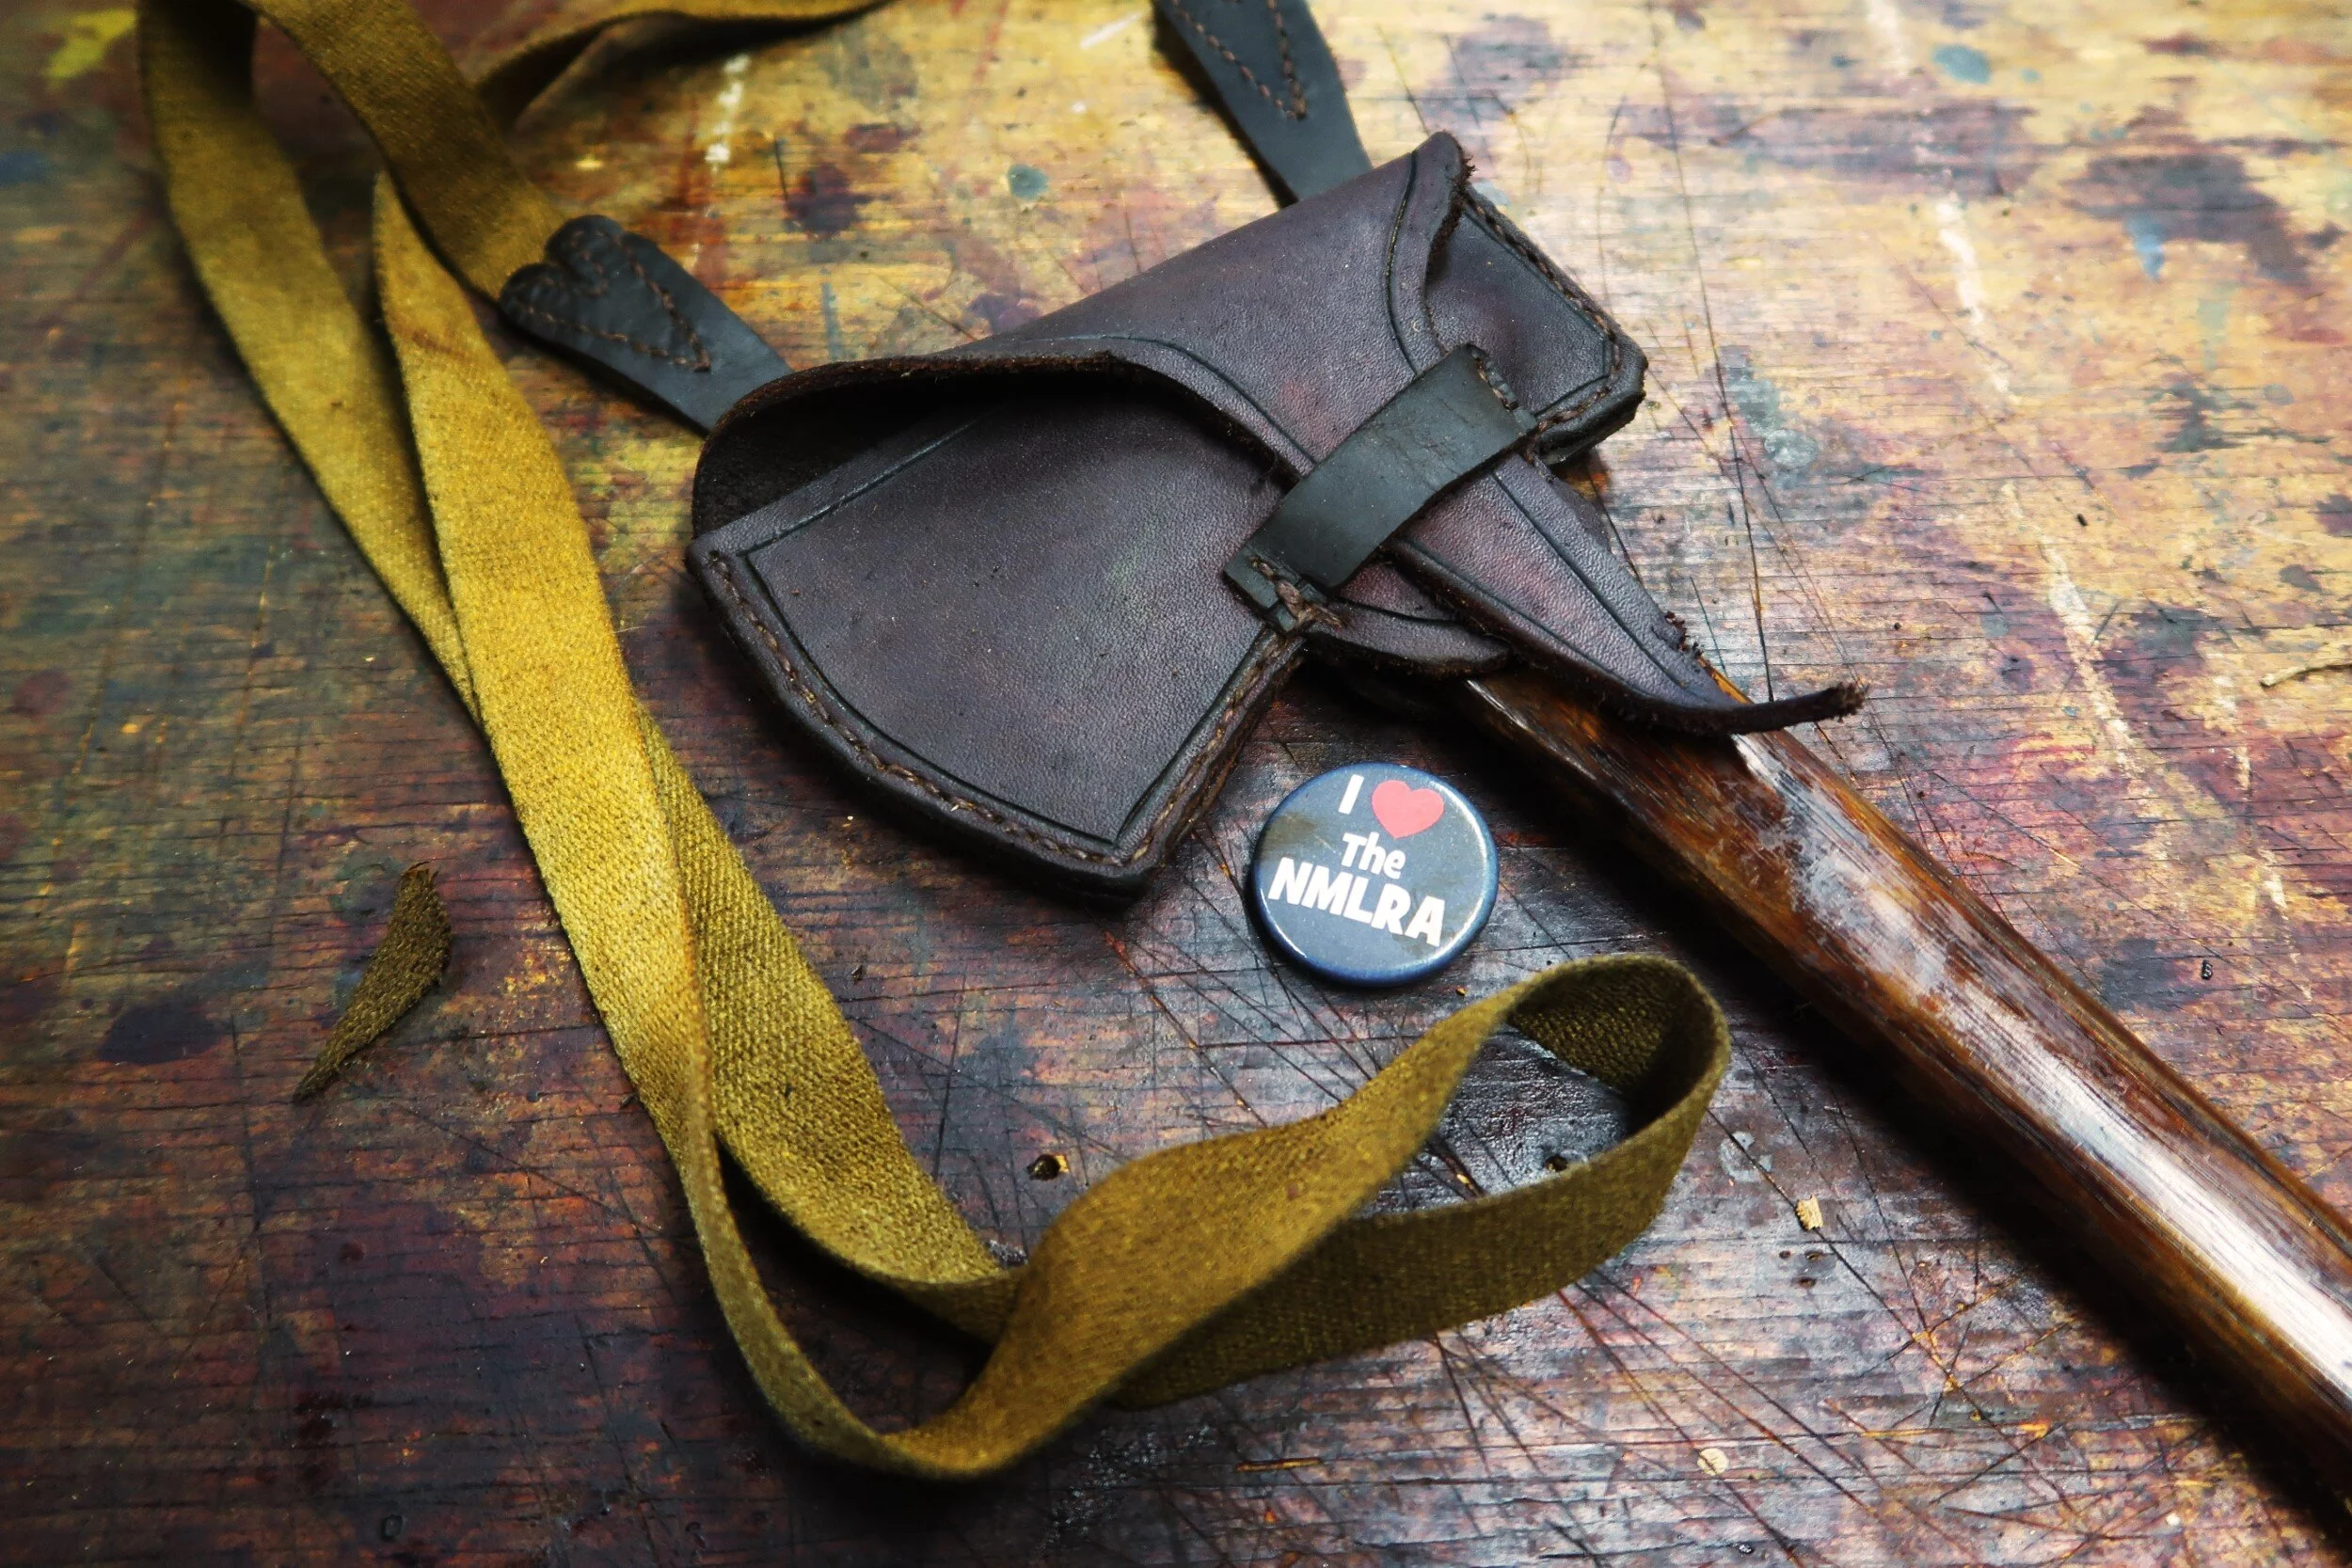
How to make a sheath for your camp or belt axe | Late 18th Century
How do you measure your flint size and can you cut them if too big. | Ask the Experts
What is the best load for a Lyman Great Plains Flintlock in 54 Cal, 1:60 Twist | Ask the Experts
Fire by Flint and Steel | John A. Swett | Muzzle Blasts Archives
Dim shapes in the swirling snow slowly materialized into a small party of men, wrapped voluminously against the weather in furs and capotes. Moving slowly downhilL through winter b arren woods, they reached the floor at the upper end of a small valley. They crossed a frozen stream and climbed to the flat top of a knoll where each one eased his burden to the ground.
Up Close and Personal with an RW Wright Flintlock Pistol from 1977
Demonstrating Muzzleloading Barrel Rifling with Rice Barrel Co.
Rice Barrel owner Jason Schneider demonstrates ‘old school’ rifling on a vintage style rifling machine owned by the NMLRA. This demonstration was part of the 2018 TN Muzzle Loading History Banquet.
Rice Barrel Co is a longtime NMLRA Commercial Row Vendor and has supplied muzzle loader builders with fine barrels for years. Find out more on their website ricebarrels.com
Building a Lancaster Flintlock with Bill Raby | Part 66
Bill Raby is nearly done building his Lancaster Flintlock Rifle. This in depth series seeks to give you a real look at longrifle building from start to finish. Bill is doing a great job sharing this process. If you are wanting to build your first muzzle loader, or your 10th, give this series a watch!
Flintlock Timing by Larry Pletcher | Muzzle Blasts Archives 1990
The equipment that I use to time locks consists of a computer and interface made to scientifically measure time in a high school or college physics lab. It has the ability to measure times to the nearest ten thousandths of a second. The lock is fired electrically, and time is measured until a flash in the pan triggers a photoelectric cell, stopping the clock.
An All Around Gun | Building a Swivel Breech | Muzzle Blasts Archives
The idea for this gun came to me on a deer hunting trip in November 1985, while canoeing down the flooded Muscatatuck River in southern Indiana in pursuit of whitetail. I had seen several does, but no bucks. It seemed, however, that in every other tree there was a squirrel. Normally, our gray and fox squirrels are very shy, but a week of being trapped by floodwaters had made them careless.
Frank House on executing Engraved Script
Frank House originally shared this post on the CLA facebook page
Alright Engravers,
Time to take a big next step in grasping the concept of executing script engraving.....
First of all, it's important to understand the concept of shading... this where the Art of engraving comes to the fore.
Executed deftly, the work has that wonderful, yet subtle "Pop" that even great calligraphy can't quite match.
This next exercise is learning to draw your characters as if you would engrave them.... in other words, refine your script as if it is finished, shaded and detailed.
Script is basically cut from two directions, up-cuts and down-cuts, taking advantage of ones natural ergonomic abilities. Simply stated, it's far easier to control your cuts if executed on a outside arc than one on a inside arc, therefore the work is accomplished from two directions(photos).
The graver is started vertical and rolled away to the outside of the cuts as one proceeds, rolling the graver both back vertically and out to finish the cut, accomplishing the shading on curved cuts.
Vertical cuts are somewhat simpler.
Gradually allow the graver to consistently cut deeper until the finished depth and result are achieved.
The exercise here is to draw and lay-out your design as if you were engraving it. Incorporate the shading, incorporate the up and down cuts as you lay your work drastically speeds the process and helps one to grasp the concept.
I'm certain folks will have questions, I'll do my best....
Stay with me, we'll get there.
Upwards and onwards!


