In this series, Muzzle Blasts Field Agent Ethan cracks open a Traditions St. Louis Hawken Kit and builds it. These kits are a simple and affordable way to get started in muzzleloading, and kits are bigger than ever with COVID 19 keeping many at home.
Check out this list of kits to find the perfect one for you
NMLRA Members can order their Traditions kits from Flintlocks LLC and receive an exclusive discount!
We’re continuing work on our Hawken kit today. After finishing the dry fitting in the last installment, we’re going to add some finishing touches to the wood before moving onto sanding and filing our brass hardware.
Gunbuilding? They should call it filing school.
Around the nose cap on our kit, yours might not have this extra wood, we have about 1/16th” of wood sticking up above our nose cap, causing a sharp drop in the stock when it joins with our cap. We want this to be a nice, gradual change in shape from the stock to the nose cap, so we’re going to file some of the stock away until it lines up. You can eyeball this new stock line, but it never hurts to mark your starting point and line to define your new stock shape. When you have a line you are happy with, pop your barrel out and grab your stock in the vise once again. Using a large and wide flat file, begin removing the wood from the top of the stock, working from the breech end forward. To keep both sides even, be sure your file is working on both sides, and apply even pressure across the barrel channel. I worked my stock from the barrel wedge forward to the nose cap, gradually moving the rear of my stroke forward after each check until the front end of the stock lined up with the nose cap. When you are all lined up, remove any burs that may have formed on either side of the stock by running your file down the outer edges at a 45 degree angle.
Do your best to keep your file off of the nose cap as you work, if your file scratches your nosecap, it’s just going to make extra work for you when it comes to the finishing stage. It’s not world ending if you do though, you are just in for some extra filing practice!
Next we’re going to remove the stock from our vise and close the vise so we have a small, elevated work surface. This will make a nice spot to work on enhancing the wedding bands of our ramrod pipes. The stock wedding bands that come on the pipes are simple, and adding some extra work will get us some good practice in, and also step up the final result of our kit.
To do this, I’m using our dovetail file, but you can use a half round file, or a triangular file to do the same work.Position the file so that the edge of the file locks into the established wedding band cut. Your file should be at a slight angle. Push your file forward and allow your file and wrist to move in a circular motion as you cut around the ramrod pipe. With your other hand, rotate the pipe as you cut to prevent flat spots on your pipe. After a few cuts, you should see a bevel forming on the inner edge of the established wedding band cut. Continue this process until the new bevel you’ve cut matches the depth of the established cut, when complete, you shouldn’t see any evidence of the established cut. Each side of each pipe should take about 10 minutes to complete. If you are looking for a faster way to do this, chuck your pipes up in your lathe and cut the wedding band there.
Clean up
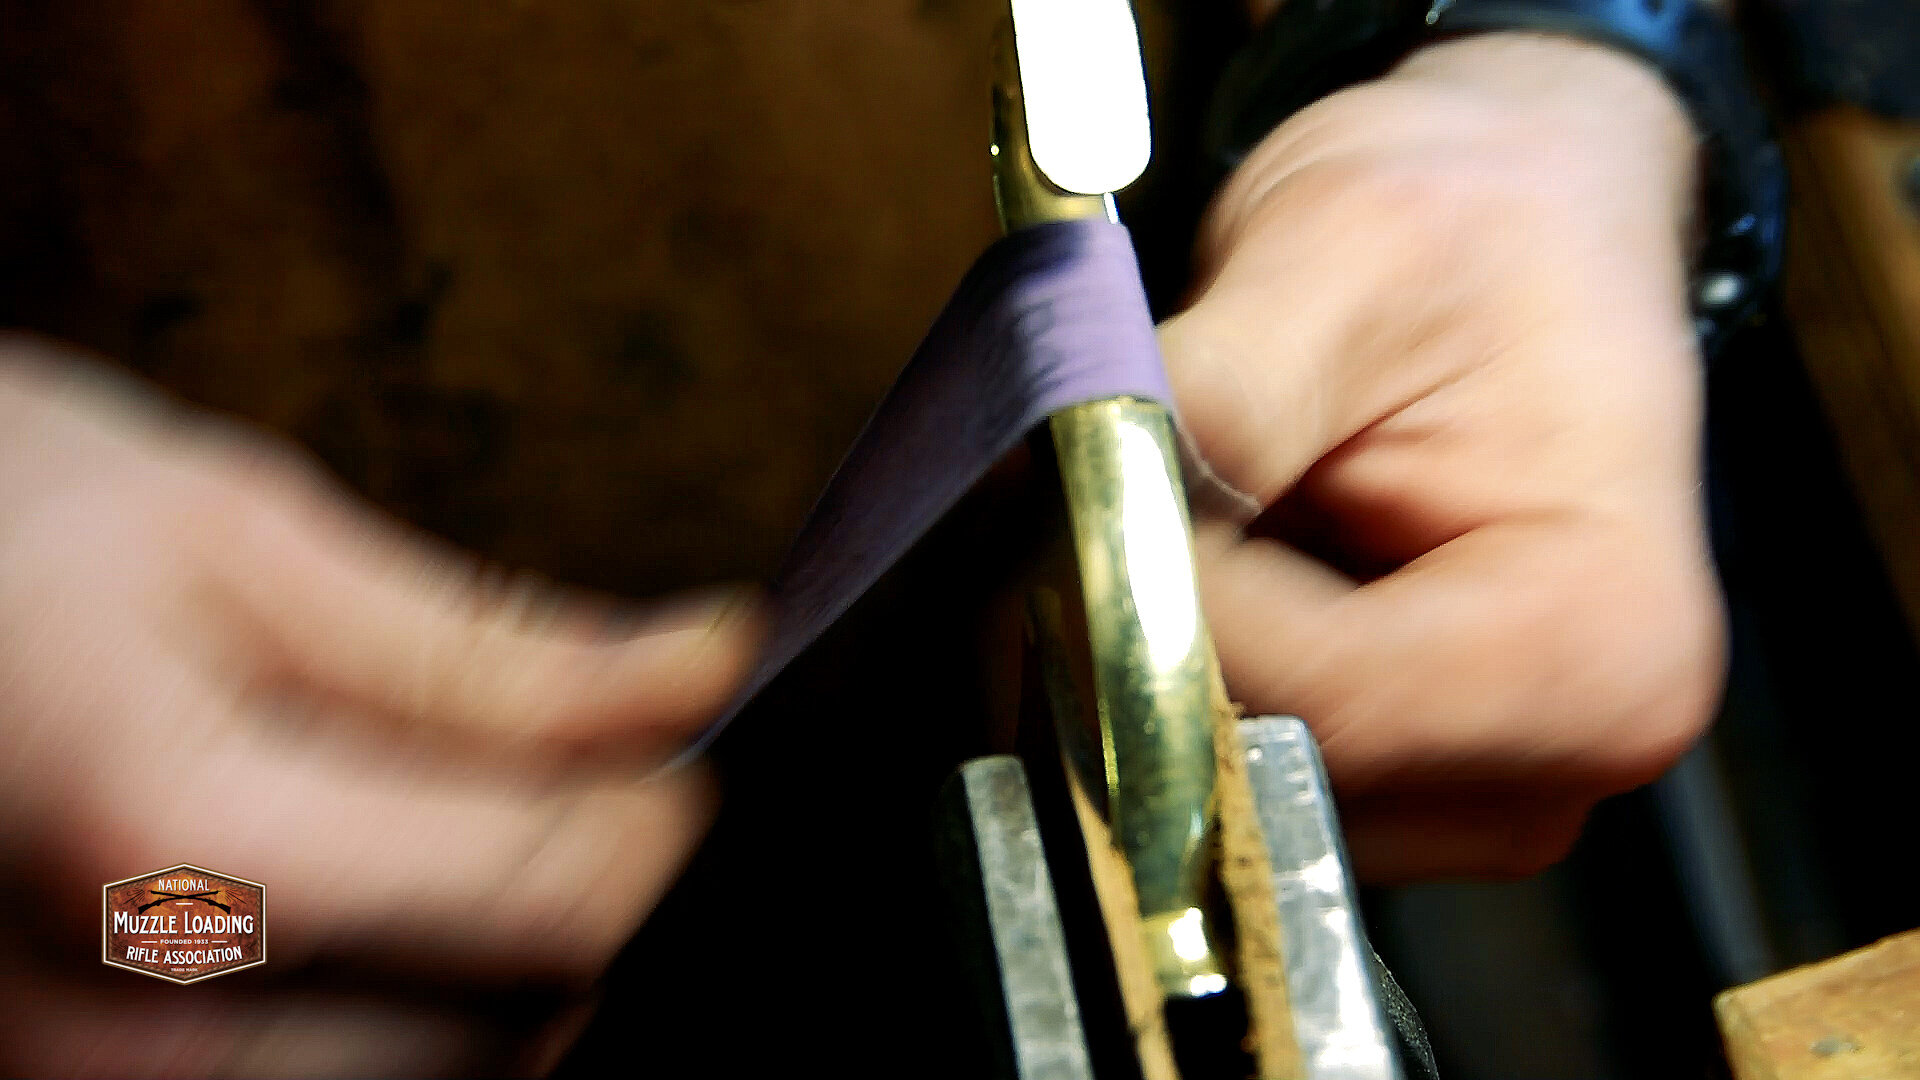
With our ramrod pipes ready, it’s time to get rid of the rest of the machining marks left on them from production. One at a time, clamp your pipes in your vise like pictured below, and with a strip of sand paper wrapped around the pipe, begin sanding with your 180 grit paper. For this project, I’m using 180, 240, and 400 grit sandpapers for each part. When to switch papers is really up to you, I generally switch when I stop seeing any change with the current paper I’m using.
Grip your ramrod pipes like this in your vise
to make for easy sanding
It’s important to work entirely around the pipe as you are sanding. After a few minutes of sanding, rotate your pipe in the vise slightly so you can get to the rest of the pipe. I like to turn the pipe enough to sand each part of the pipe, but I don’t turn the pipe so far that I’m missing the area I’ve just sanded. By keeping the rotation small each time, you’ll get an even finish around the pipe.
Continue this 180-240-400 grit sanding process across all of your parts until you get the finish you are looking for. This is entirely up to you, but putting in this time now will give your rifle a nicer, more connected look than you would have had you just put the brass on as it came from the factory.
The Trigger Guard
The trigger guard on this kit comes round and I wanted to add some decoration without removing any of the strength that the bulky brass trigger guard gives us. I chose to add a “three facet” pattern to the large straights on my guard. Now, I’m not sure how accurate this detail is to the Hawken rifles, but this kit isn’t 100% accurate, so we’re taking this trigger guard as another opportunity to learn and hone our filing skills.
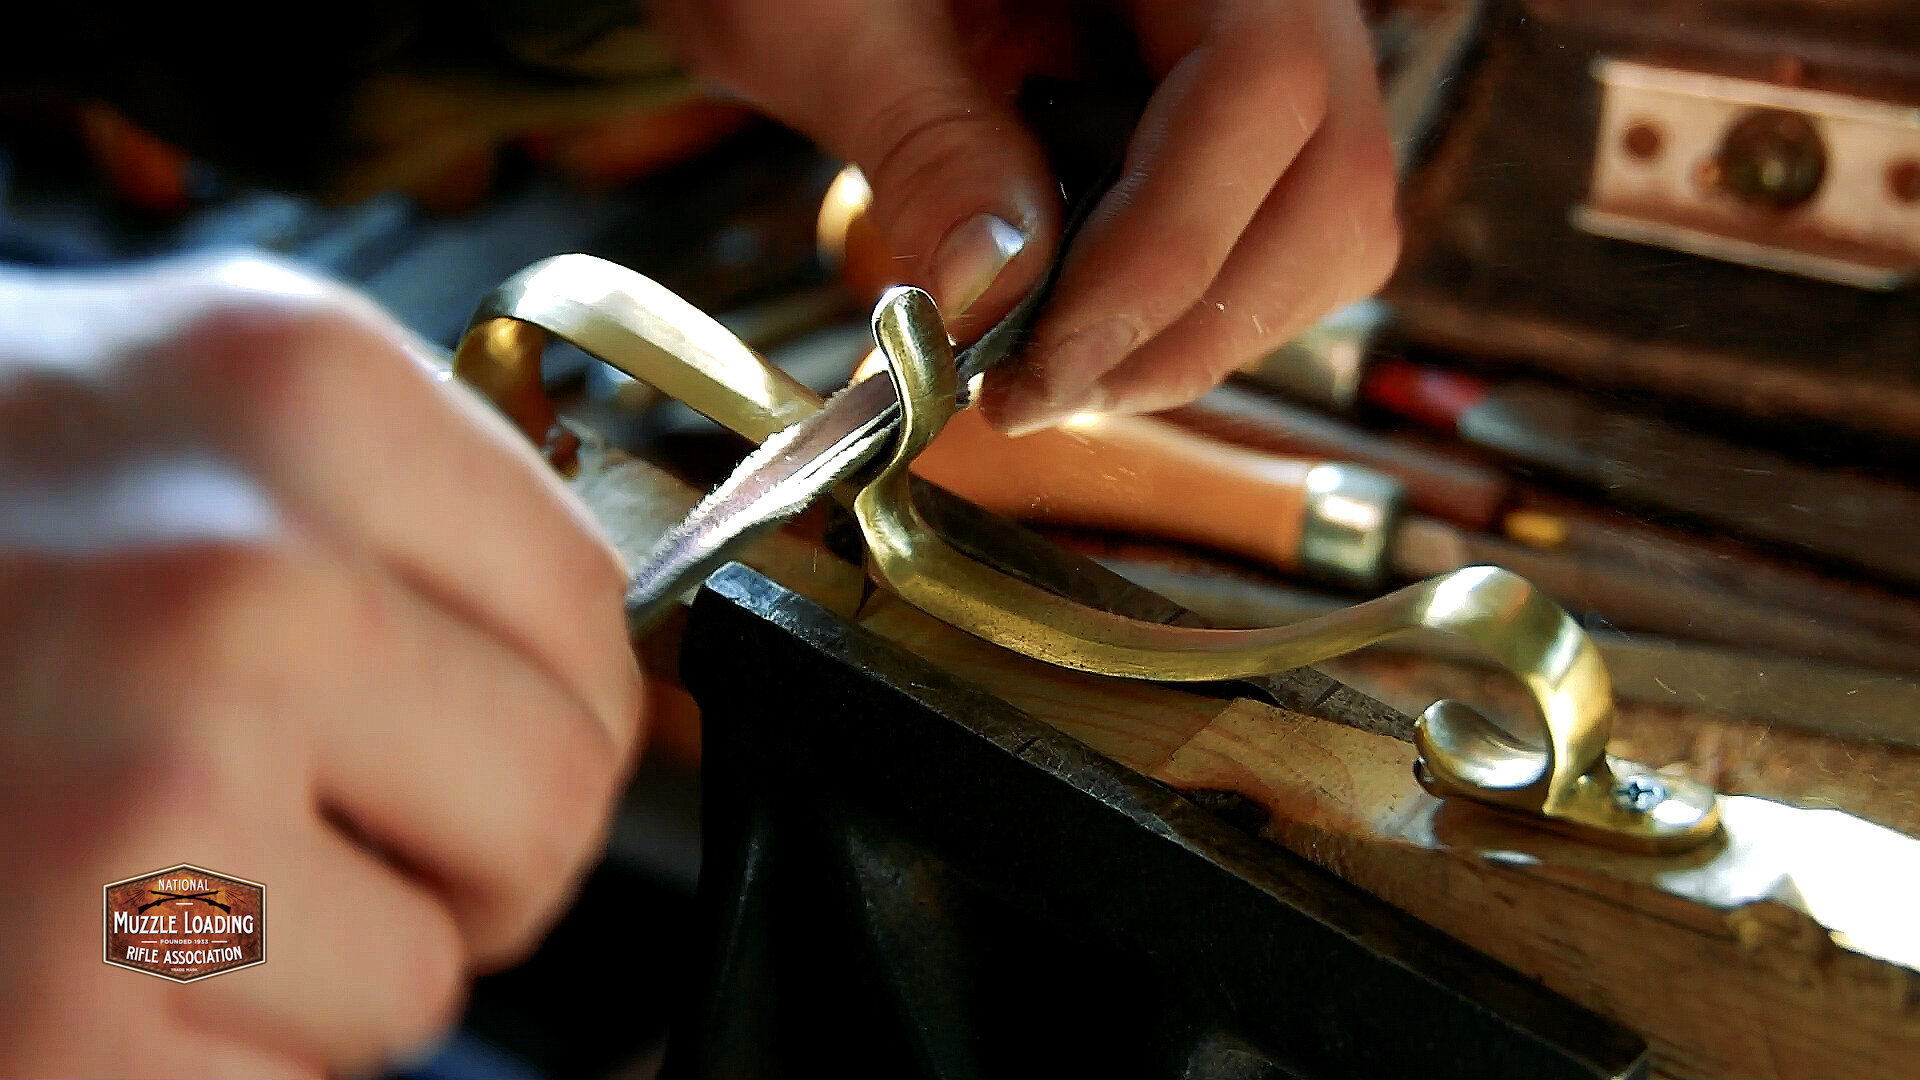
I roughed these facets in with the fine half round file mentioned in the tools list. Looking back I could have used a more aggressive file, but the finer file forced me to work slow and steady. I learned a lot while doing this, filing looks like a simple skill, but there’s a lot to it. The video included with this article will go into more detail, but I’ll do my best to put my thoughts to word here as well.
Filing the facets into the straight areas wasn’t too hard, if you focus on keeping your angles consistent, you can keep your edges clean and your faces even. Edges can be your biggest enemy here, I found I had to rough the faces in, clean the edges and then finish the faces out by not touching the clean edges. The real difficulty came in when I tried to take the faces around the curves of the guard. I don’t know why I thought they needed to, but in short, they don’t, haha! Your best bet is going around the curve slightly with your faces, and then blend them into the round of the guard. This is what original rifles with this guard have, so don’t sweat it!
When you are happy with your facets, continue to work the center drop curve of the guard by rounding the face. Working this curve to be slightly thinner than the rest of the guard can give it some delicate detail without compromising strength.
When filing and sanding, especially on the faces of the guard, I found that if I short stroked my file/sandpaper, I’d leave scratches. This isn’t as common with iron or steel hardware, but the brass is soft enough to leave behind this unpleasant look. As you begin to finish your part, be sure to full stroke your file/sandpaper, this will leave any of those scratches hidden in the curves and not very obvious. To fully remove them, use your 400 grit sandpaper gently or a polishing wheel as we’ll do later.
After spending around 6 hours filing and sanding on my hardware, I took the night off and came back to the shop the next morning with some fresh eyes and added a bit more polish to the trigger guard.
When you use the 400 grit sandpaper as your top grit, you end up with a nice matte polish on this brass. It’s not a high polish like the parts come from the factory, but now all of our parts look the same. To make up for some of my own imperfections during the sanding and filing stages, I took each of my parts to a buffing wheel to get them cleaned up and ready for aging. Using a red buffing compound, I went over each of my parts to remove any wayward scratches, knicks or other blemishes that wouldn’t pass as general wear. If you don’t have a buffing wheel like this in your shop, don’t sweat it. Remember, the finish is all up to you. If you like the 400 grit look, stick with it. If you don’t like it, grab some finer sandpaper and keep going until you get to where you want.
That wraps up part 4 in this Hawken kit build. In the next installment, we’ll be aging our brass to add some more detail to our kit. See you then!
There are a million ways to assemble a muzzleloader, and a million of them are right. This is by no means meant to be the ONLY way to build one of these kits, just one way.
Have a suggestion? Email us at media@nmlra.org and we’ll take your comments into account as we continue the series.


