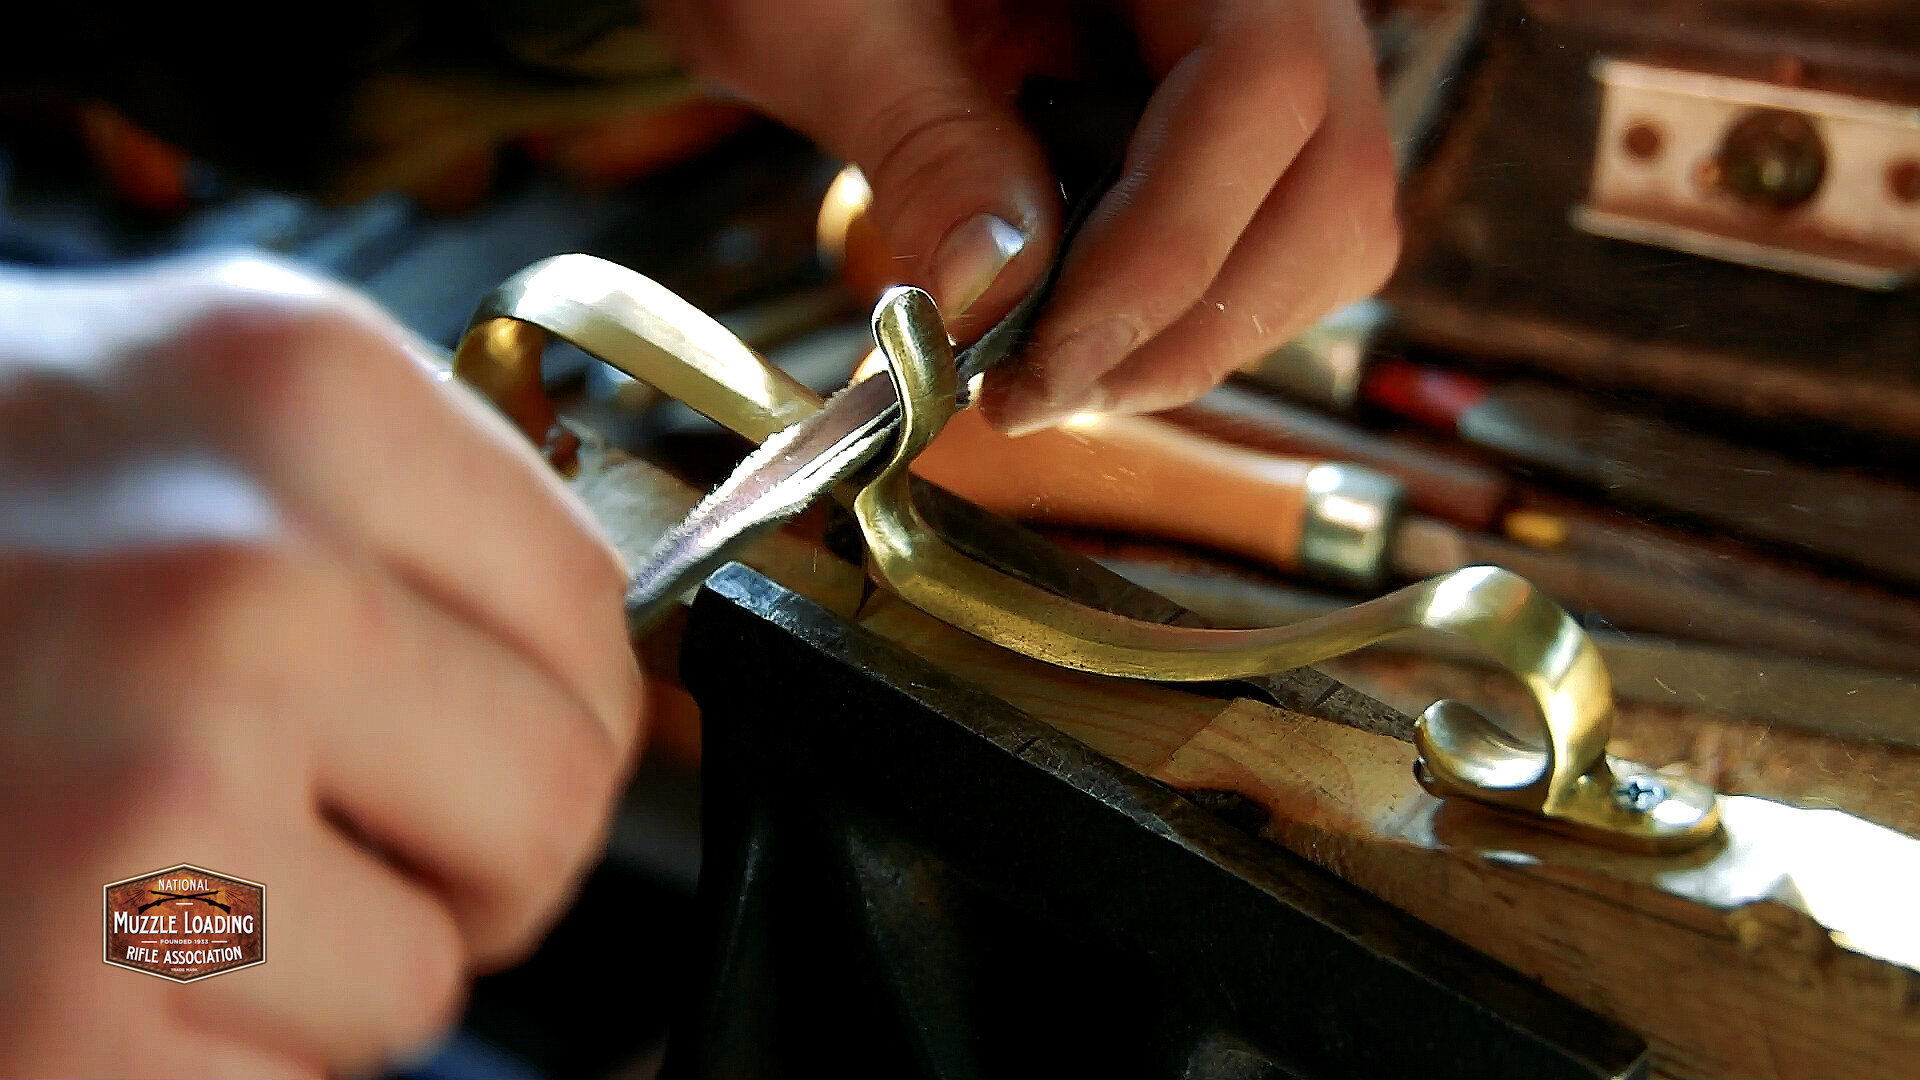
In this series, Muzzle Blasts Field Agent Ethan cracks open a Traditions St. Louis Hawken Kit and builds it. These kits are a simple and affordable way to get started in muzzleloading, and kits are bigger than ever with COVID 19 keeping many at home.
In this video, we walk you through all the tools you’ll need to build this kit. This video was made after the kit was finished so we could accurately show you all the tools used. The basic list provided by Traditions is enough to get started, but we found there are some more tools that can really help the building process of one of these kits.
You certainly don’t need all of these tools, just a few will get you through the basic assembly process, but we hope the extra tools laid out here will help make the process easier.
There are a million ways to assemble a muzzleloader, and a million of them are right. This is by no means meant to be the ONLY way to build one of these kits, just one way.
Have a suggestion? Email us at media@nmlra.org and we’ll take your comments into account as we continue the series.
Tools used for the kit
Safety Gear
Rubber Gloves
Eye Protection
Rotating Gun vise with swivel jaw
One Large rough flat file
One course half-round file
One 4 ½” long fine half round file
One dovetail file for fitting the barrel lug and sights.
A pair of pliers
Exacto or another thin-bladed knife
2 Rounded chisels with varying curves for inletting
2 flathead screwdrivers, one ⅛” , one 3/16 ”
Sandpaper
180 Grit
240 Grit
400 Grit
“Scotch Brite” pad
Oil for threads
Rubber mallet
Wood handled ball-peen hammer
Heat gun
Finishing Compounds
Brass Black
Brownell’s Oxpho-Blue
3-4 Cheap plastic containers
Cotton swabs
Wood Stain (Your choice of color)
Paintbrush
Finish Oil
Linseed, Danish, or Tung
Shop Rags for clean up
Optional:
Antler for burnishing


