Gun Making Tools of the 18th Century and Today.
By Ben Quearry
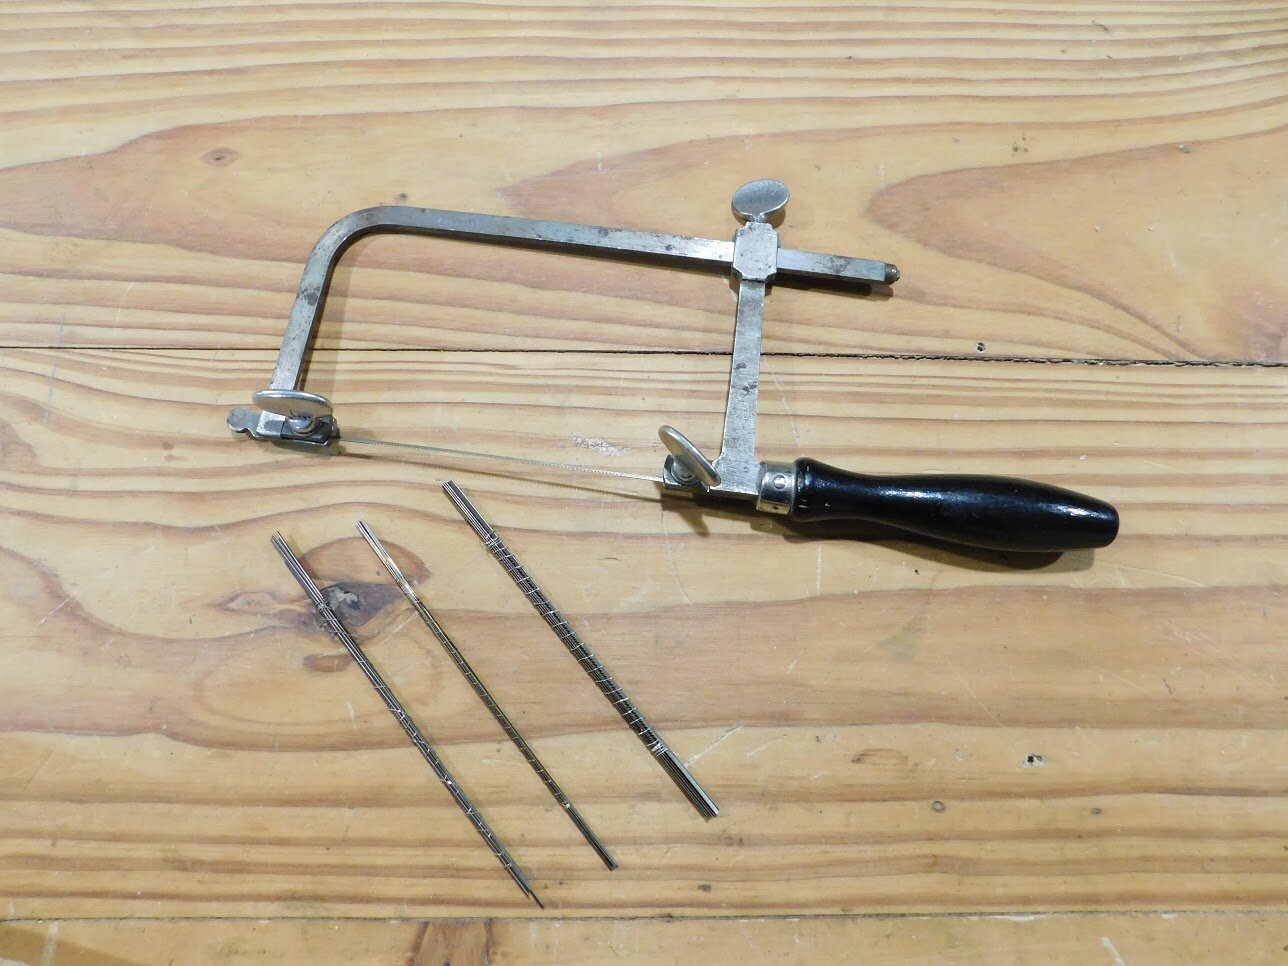
Saws were an integral part of manufacturing in the 18th century. Sizes from giant two-man lumber saws to tiny piercing saws could be found in colonial America. The latter is what we’ll talk about today. The piercing saw was a small, squarish, bow-shaped affair that could clamp onto and tighten a tiny saw blade. I’ve heard they were originally made popular by clockmakers hundreds of years ago. Frames and saw blades from England could be purchased here in Colonial America during the 18th century. Blades could also be made from wire, using a small chisel to raise the teeth.
Today’s equivalent of the piercing saw is the jeweler’s saw. These can be simple affairs or quite elaborate modern renditions of the original design. The most common, the one I have, is a handle with a short leg that has a square hole along with a thumbscrew. Another “L” shaped piece slides into the square hole. Each piece has a tiny clamp to grip the saw blade. A blade is placed in the clamps, the “L” is gently slid forward to tighten the blade and the thumb screw tightened. The reason it is called a piercing saw is that you can drill a tiny hole in your workpiece, “pierce” the blade through the hole, and then clamp it in the frame. Now you can cut a square hole, or whatever shape your heart desires. Very handy for making pierced patch boxes. A common jewelers saw like mine can be found for under $20.
The blades come in bundles of 12, in various widths and teeth per inch. They come in bundles, because they are small, you will break some, and you don’t want to run out late at night. Usually they can be bought for under $5 a bundle. I buy mine on Commercial Row during the spring and fall shoots at Friendship. Blades can be purchased from web retailers too.
Just do a search for “jewelers saw blades”. When choosing a blade, the higher the number the larger the blade. A “5” size blade is bigger than a “000” or 3/0, size blade. They are both tiny; a 5 blade is .016” wide, a 3/0 is just over .009” wide. 3/0 blades are about 3 times the width of the hair on your head.
Clamping a blade in the frame can be a bit of a trick.
Unlike a hacksaw there is no pin in the frame to hook the blade into while you tighten it. The blades are just too tiny for that. What you do have is two small clamps with thumbscrews to grip the ends of the blade. Getting a blade tight in the clamp while holding the saw with your other hand can be pretty frustrat-ing. I clamp the saw frame, blade up, in a vise. That way I have both hands free to get the blade in the clamps and tight-en it up. Start by loosening the frame screw that allows it to slide open. Open up both of the blade clamps so you can lay the blade into them. Keep the teeth pointing towards the handle so the blade will cut on the pull stroke. Tighten up the little clamps on the blade and push the “L” shaped leg of the saw frame until the blade is tight, then snug up the thumbscrew. It should be tight enough to make a ping when you pluck the blade.
To use the saw, use gentle downward pressure and pull the saw toward you to make the cut. This is backward from a larger wood or metal saw that cuts on the push stroke. These blades are so tiny trying to make them cut on the push stroke would be like pushing a string. The blades are easy to break so take your time and be careful. A sharp blade will cut surprisingly quickly. Don’t force it, just let the blade cut. To prolong the life of the blades, lubricate them with a tiny bit of bee’s wax. It does not take much, just a little to help the blade slide through the workpiece. Wear safety glasses. You never know when a blade will break and send pieces of blade flying.
I use my little saw quite a bit. When hand making screws, I use it to start the slot that will align with the barrel when the screw is tight. I follow that by filing the slot to match the screwdriver or turn screw. It’s darned handy for cutting small pieces of metal and wood, barrel pins and such. I can find just the right width saw blade to cut a fine notch in a rear sight, the only way I’ve found to reproduce some old original sights. Aside from all that, you can make some beautiful cut-outs in patch boxes and inlays.
I’ll see you at the Hall
Benjaman Quearry


